The vent fan in my kitchen is dusty. Not only is it unsightly but it also means the fan isn't working well. How can I give it a thorough cleaning?
Vent fans do a great job defogging the bathroom and pulling out steam and smoke from kitchens. That means they get dirty quickly and start to perform badly, eventually breaking. A good cleaning only takes a minute and can help keep fans in proper working order. It also looks better without the built-up grime, dirt and dust.
While they come in many shapes and sizes, most vent fans have the same basic configuration. If you understand how one works, you should be able to clean any kind of fan.
What you need
Screwdriver
Soap
Water
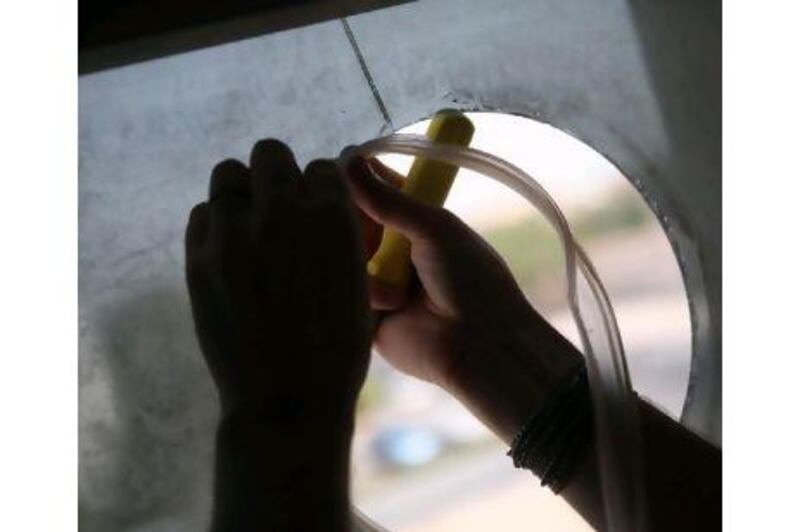
Step 1 Remove the fan from the window. They are usually held in with a couple of screws. Simply unscrew them and then pull on the vent gently to take it out of the window. This one required a little wiggling.
Once the vent is out of the window you can pull the fan blade directly off the motor shaft. It should be on tightly, but if it is not screwed on, a strong steady pull will remove it.
Step 2 Rinse off the fan. Most of the parts can be cleaned in water. You can also use a scrubbing brush and soap to get off the more oily residues.
Step 3 Carefully replace the rubber window seal. Proper bonding keeps the fan from slipping and stops outside air from seeping inside.
Step 4 Reinstall the fan. For this fan, the top needed to be pushed into the window first. Be sure the fan is locked into place around the seal. It should hold tightly.
Replace the remaining parts of the vent housing and screw in the fan.
Test your fan by switching it on. You may find it runs more quietly. If nothing else, it will look a lot better without the residue and build-up.