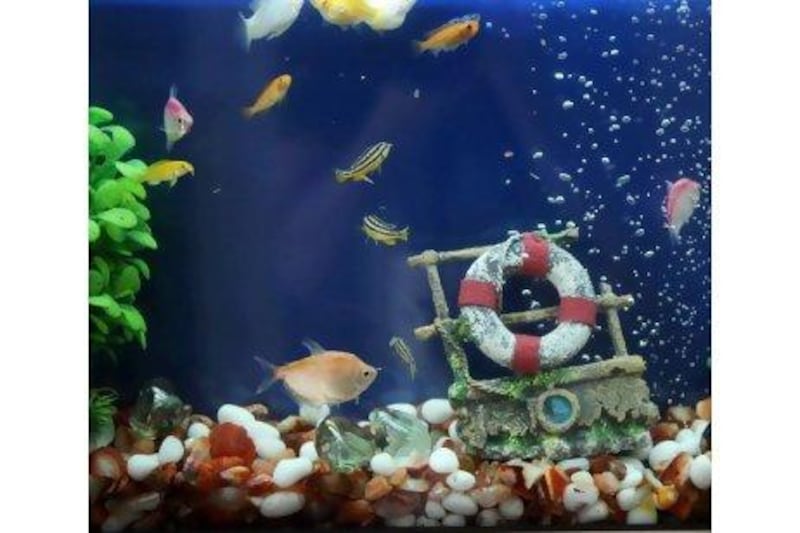
When we moved to the UAE we brought our wall-mounted aquarium with us - but, unfortunately, the instructions for installing it got left behind. Can you show us how, please?
Any fish tank looks great, but having one on the wall is even better. While it's more challenging to hang something heavy (water weighs a lot and a fish tank needs strong bracing), the results are well worth it.
What you need:
- A heavy-duty, hammer-action drill
- Several large plastic wall anchors (according to the number of fixing points on the tank's brackets)
- Screws that match in size
- A spirit level
- A tape measure
- A marker pen
Step 1 Install supporting brackets. This fish tank has three brackets for the wall. Measure the width and height of the aquarium. Decide where the centre of the aquarium will be once it is hung. Make a small mark on the wall there. Then measure the appropriate height above the floor (leaving plenty of clearance for furniture that you may wish to place beneath it); this is where the first bracket will go.
Place the bracket against the wall and, by sitting the spirit level across the top of it, ensure that the bracket is exactly perpendicular. Then, taking great care not to let the bracket slip out of position, put the marker through the screw holes and make dots on the wall for where the holes must be drilled.
Measure the plastic wall anchor against your drill bit to ensure that the bit is of the correct diameter. Also make a mental note of the length of the anchor compared with the length of the bit - this is how deeply you will need to drill. After drilling the holes, put the plastic anchor in, then start screwing the bracket to the wall.
Step 2 Measure where the left and right brackets will go. Use the first bracket at your starting point. To ensure that the tank will be perfectly horizontal, use your spirit level and trace a fine line across the wall to mark the position of the top of the other two brackets.
Now measure an equal distance from the middle bracket (which will be dictated by the position of the screw holes on the underside of the tank) to determine the position of the left and right brackets.
Mark the screw hole positions on the wall, drill and attach brackets, as for the first bracket.
Step 3 The fish tank is now resting on the brackets but is not yet secured. On this tank three plastic clips hold the top of the aquarium wall tight with the wall bracket. After all three are clipped on, your tank is secured from the top.
Step 4 Under the tank, the brackets also need to be screwed into the holes on its base to lock everything together. Once the tank is on the wall and you have added water, now begins the really hard work: keeping your aquarium well maintained and taking care of your fish.


