
As of Saturday night (April 4), the UAE government has told people to wear face masks and gloves when outside the home. The measure aims to protect both wearers and those around them from contracting the coronavirus.
However, if you haven't already picked up a mask from a nearby pharmacy, don't fret.
It is possible to make a temporary version yourself, but remember this is not a medical-grade mask, and should never be used as such. Yet, as a short-term solution, these are acceptable.

“An alternative option, in the absence of a medical mask, is to cover the nose and mouth using paper masks,” Dr Farida Al Hosani, a spokeswoman for the UAE health sector said on Saturday. "Or use home-made masks made of cotton or mixed cotton, making sure to re-wash them."
The premise of making these masks is simple; use the fabric as a barrier to stop germs being released or breathed in. A single layer of cloth will offer some protection, but that can be increased by putting folds into the fabric, and effectively layering it over the face.
This creates a larger surface area that the virus would need to penetrate, keeping the wearer, and those around them, somewhat safer. Most medical-grade masks use this theory, so we will, too.
What will you need?
Home-made masks can be created using only a needle, thread and fabric lying about at home. The below example is made from fabric left over from a cushion cover. Try and use cotton (even an old T-shirt will work) as this is easy to machine-wash and keep clean.
Here's a step-by-step guide
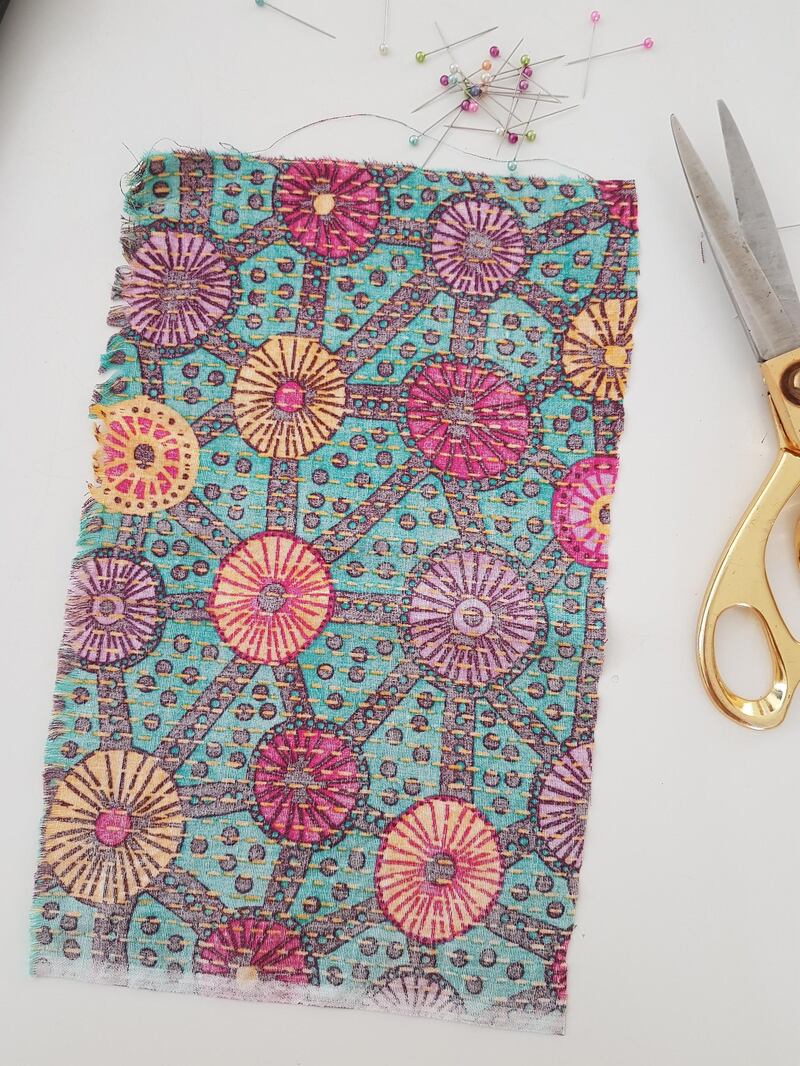
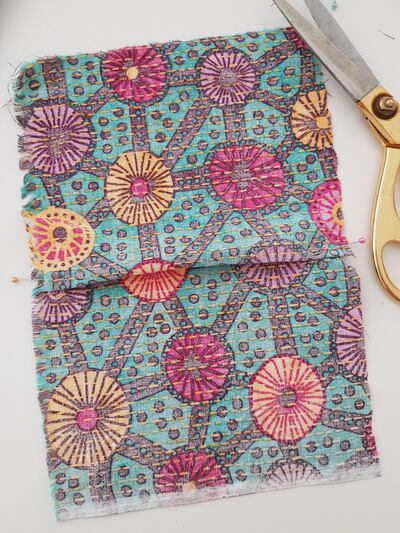
Step 1 Find an old piece of fabric, preferably cotton. Cut out a rectangle measuring approximately 22cm by 36cm and lay it flat on a table.

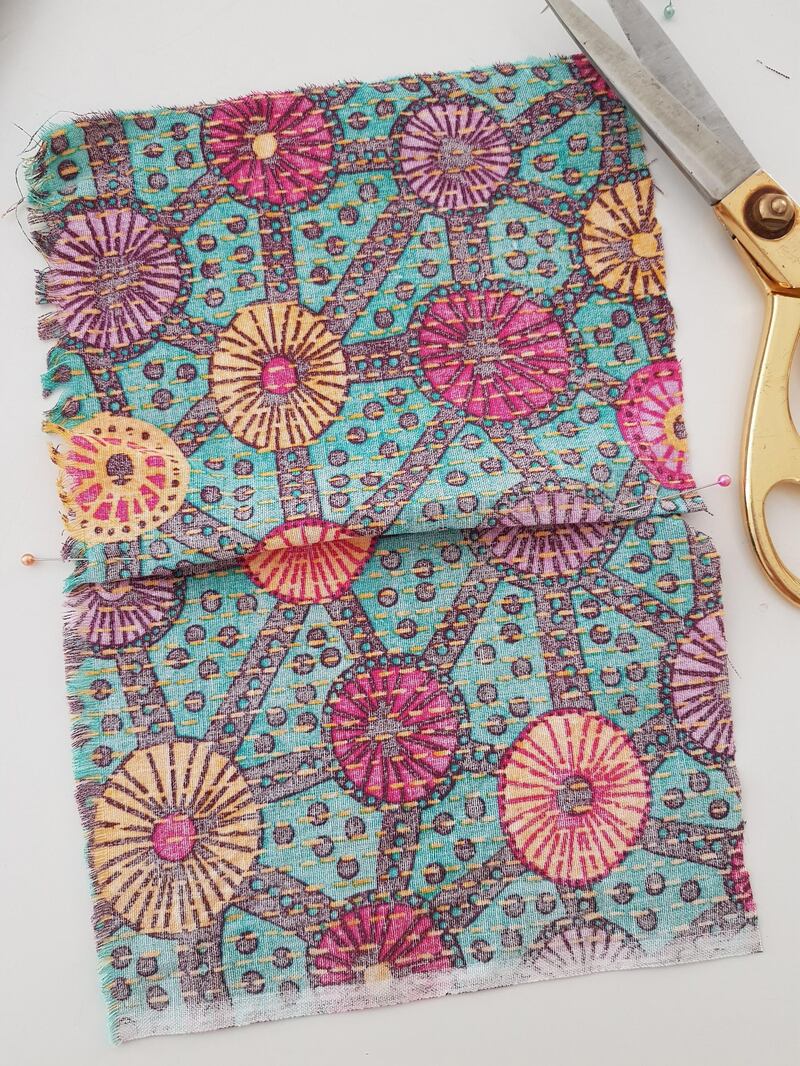
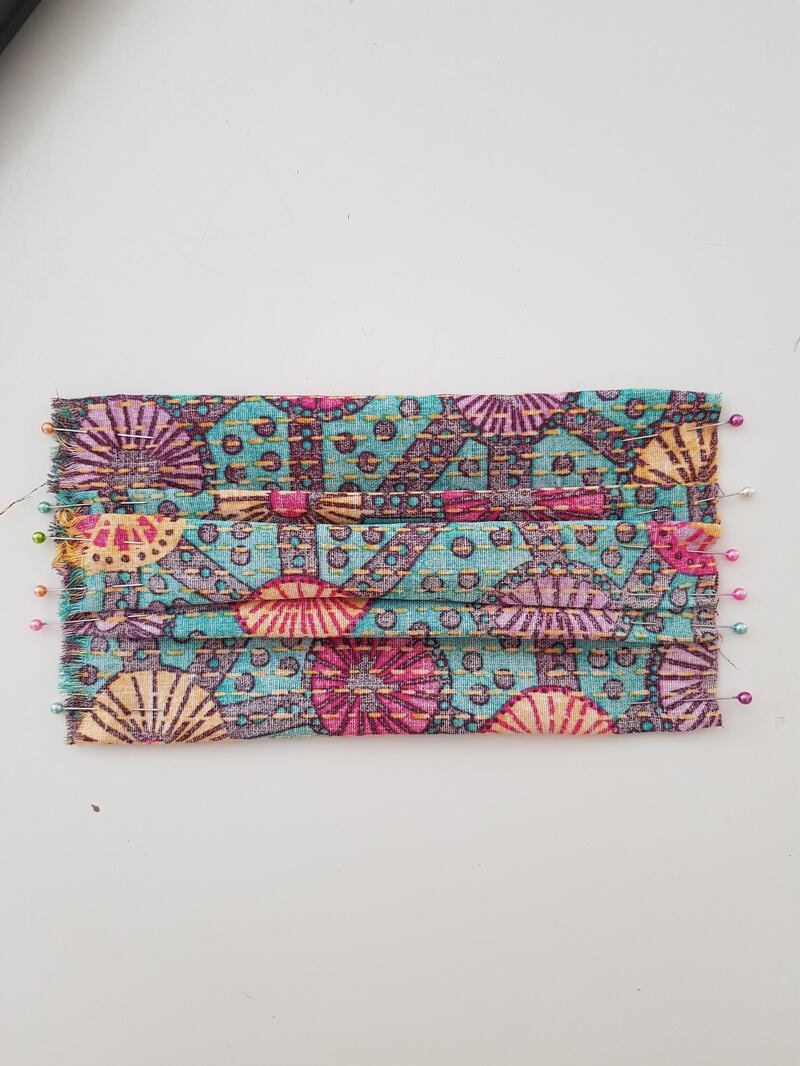
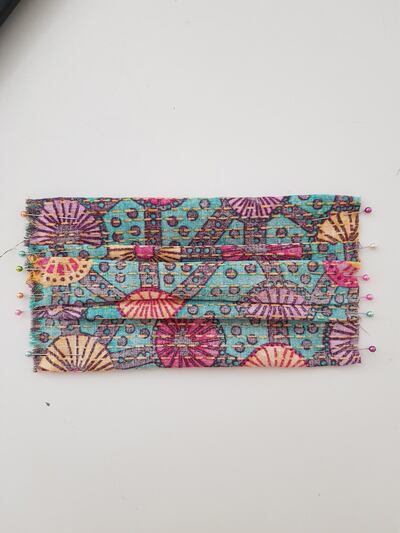
Step 2 Create a small fold in the fabric, about 1cm long, that runs across the short width of the material. Lie it flat, and pin it in place.
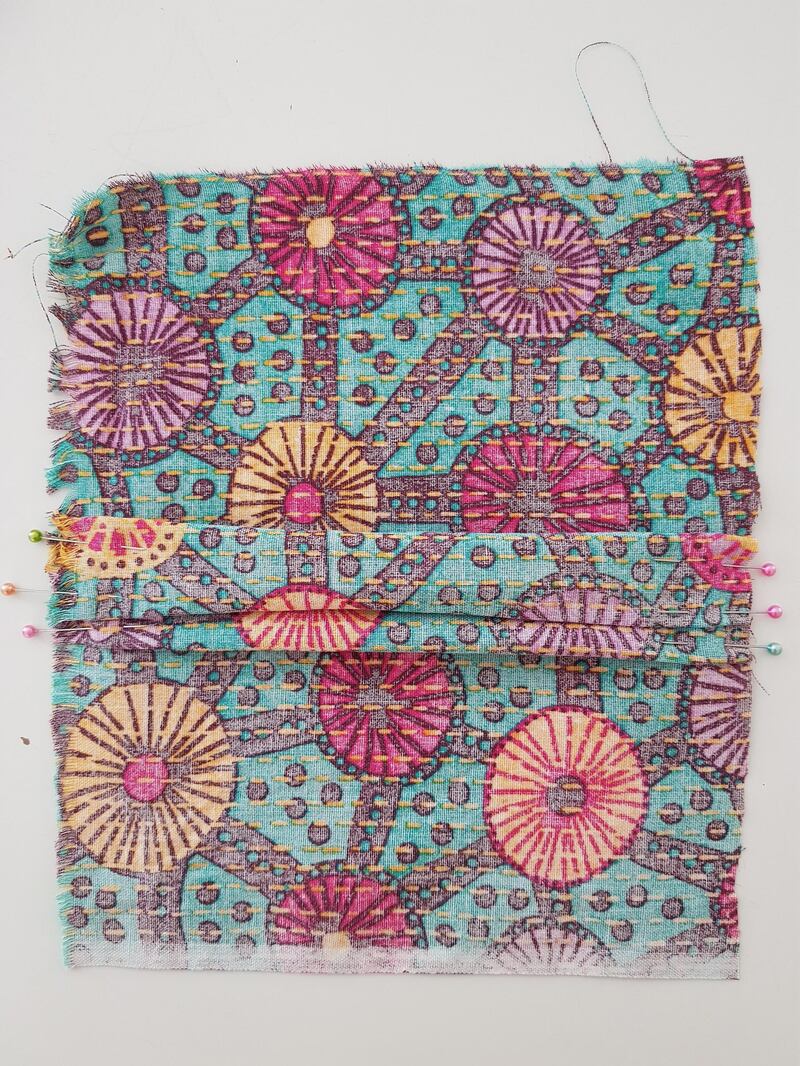
Step 3 Repeat four times, pinning folds flat each time. You can do more folds if you like. You will end up with a concertina effect in the fabric (and should end up with at least double layers of fabric across the middle of the entire mask).

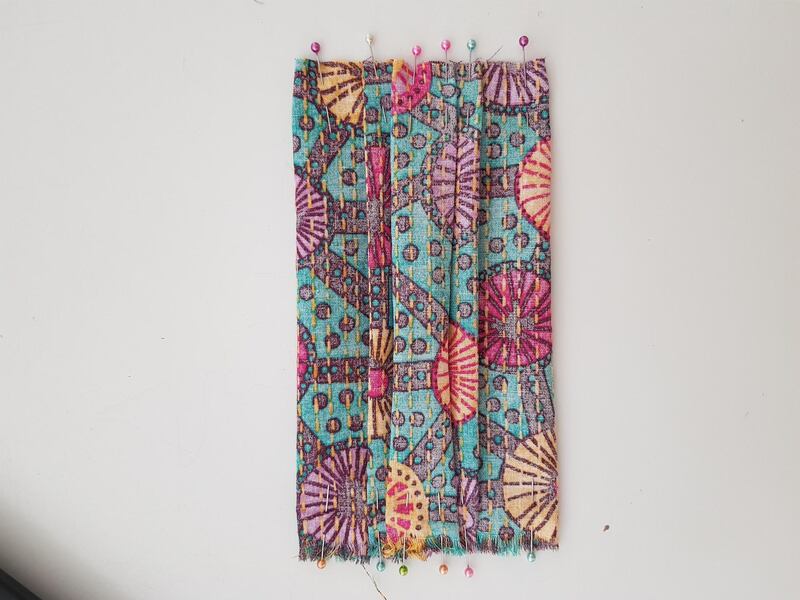
Step 4 By adding the folds you may have made the mask the right length to cover your nose and mouth. If you feel it's still too long, fold any extra fabric at either end underneath and pin in place.
You will secure this fold in place when you hem the short sides.
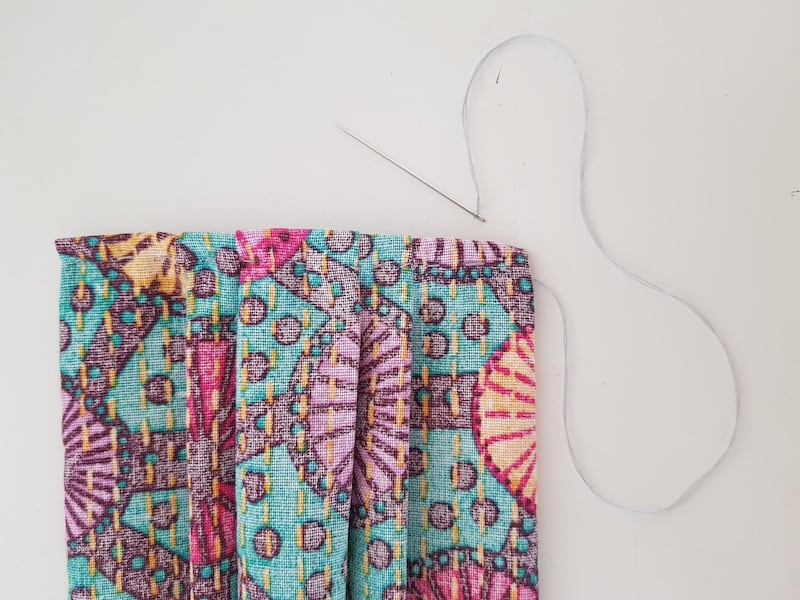
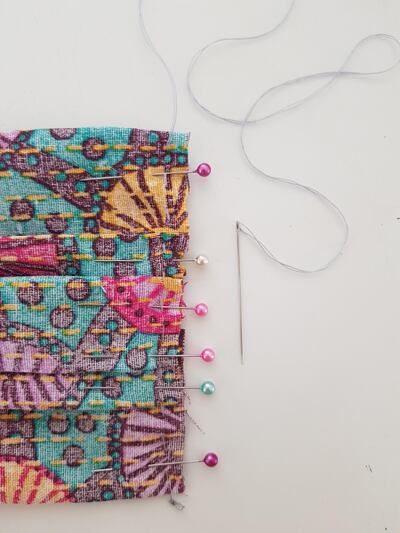
Step 5 With a needle and thread (double up the string for extra strength), hem both short sides with a simple running stitch to hold the folds you've just made in place.
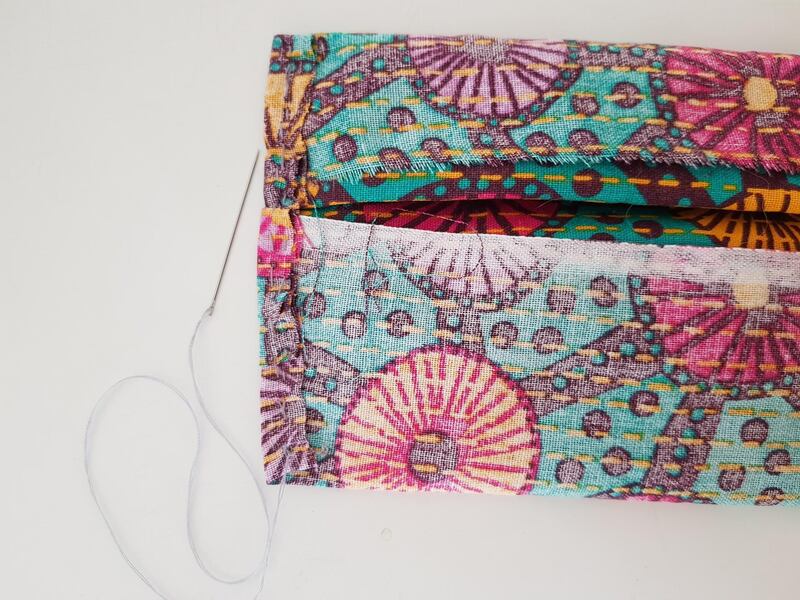
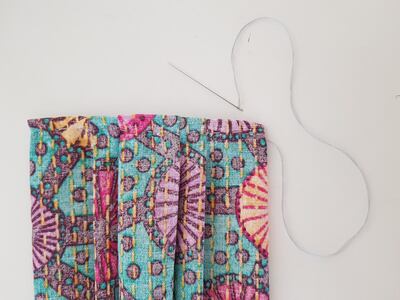
Step 6 Fold both hemmed short sides over again (this is only a small fold) and stitch that flat. This is to prevent fraying, and will make the sides of the mask extra-strong, as this is where the ties will be held.
Step 7 Add ties. These can be elastic, ribbon or even shoelaces.
Sew on to the short sides of the mask, and make sure to leave enough length to be able to either tie the mask around the back of the head or around the ears, as you prefer.
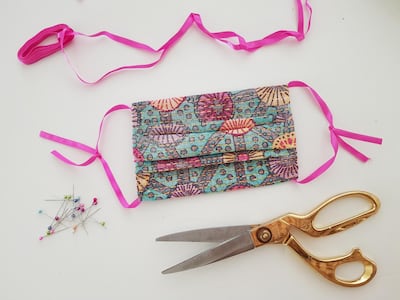
Et voila, you're done. Remember, this is not a medical-grade mask, but is a good option if you need to go to the supermarket in the UAE, for instance, and can't find a mask to buy.